We were going to put a hole in the middle and go all out, but we decided that would end up being too big of a table so scratch that idea. I have since seen some with holes in the middle that look pretty awesome though. I drew inspiration from these. I really like the way this one looks so I pretty much copied her top. I did use the outdoor carpet for grass which was taller so the resin didn't completely cover it. I still need to ad more in the future, but for now, it works good as is. And this one was pretty freakin' awesome! I absolutely love the personalization of the hand prints so I stole that idea as well. Like I've said before, I'm a sentimental fool lol.
So here's a few shots in the making...


I also had big plans to make the sides solid and paint them to look like a tunnel with bricks etc etc etc.... but i stuck with solid white... meh... I never have time to do things the way I REALLY want to do them. I'm waiting for the day when the kids are old enough to fend for themselves so I can lock myself in my craft room and never come out hahaha.

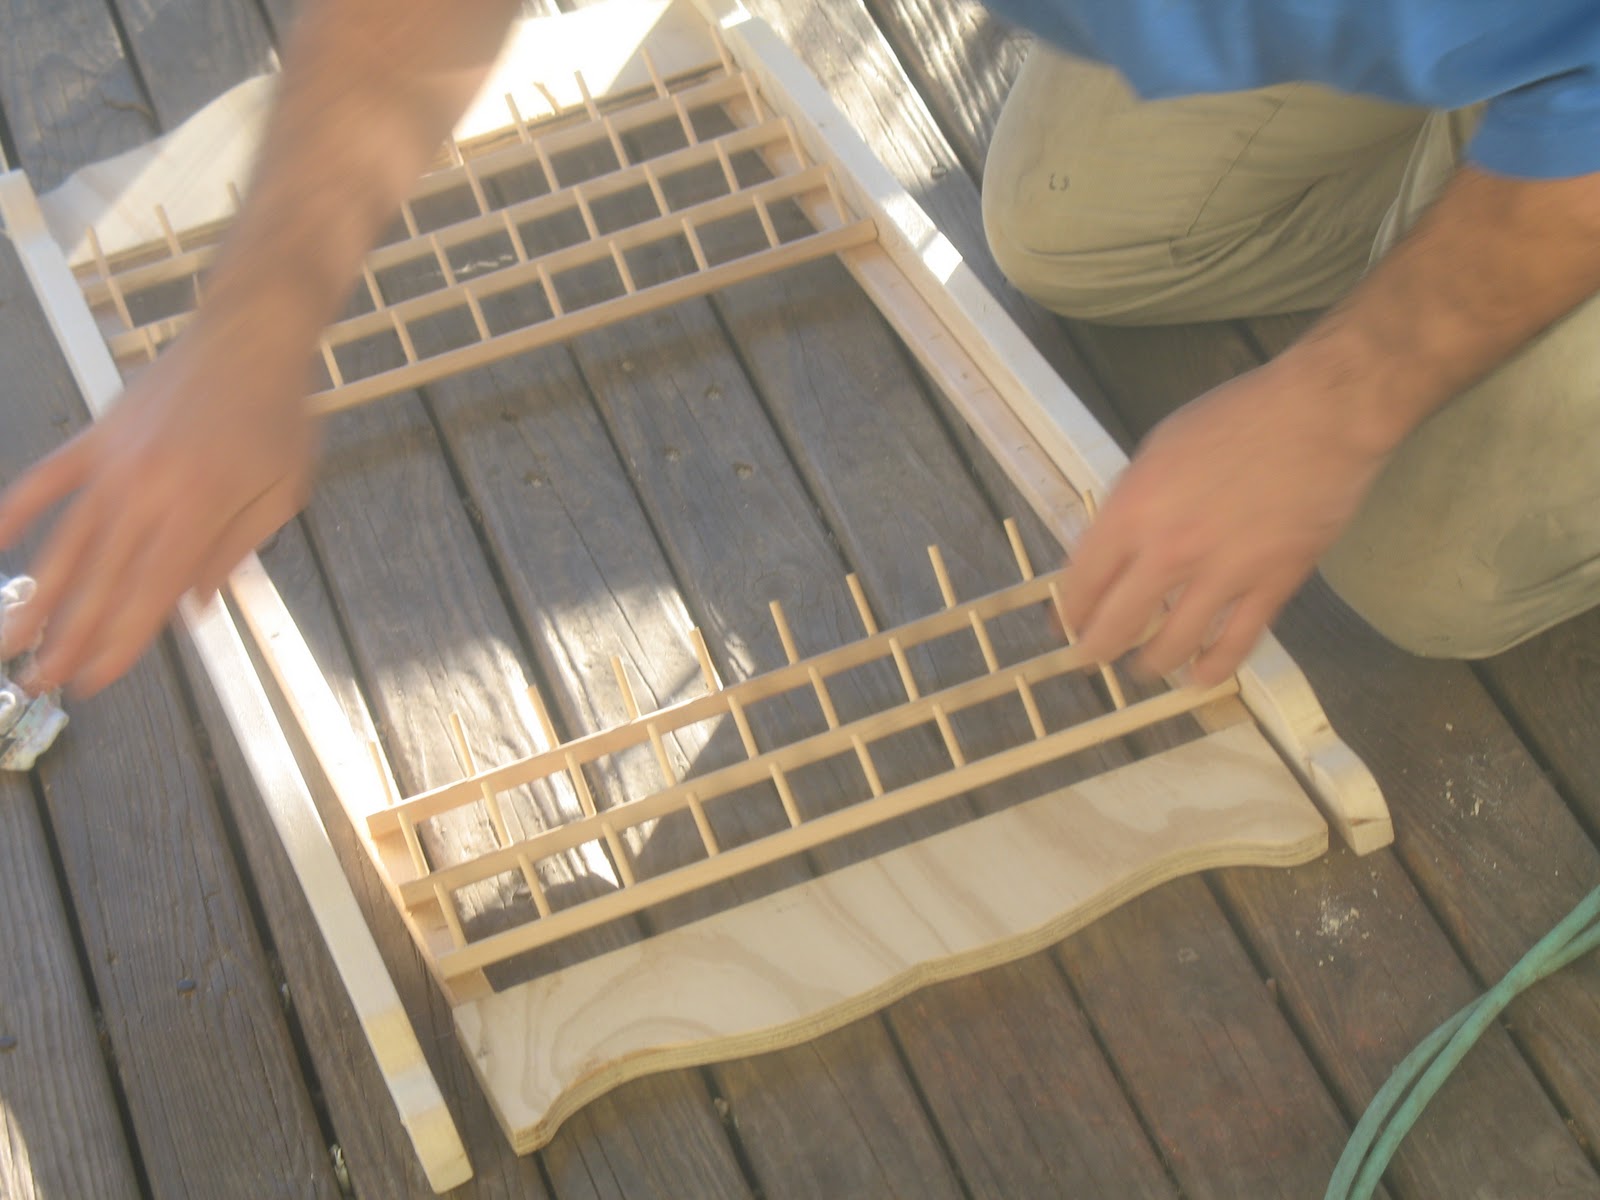
The leftover table scraps became the thread rack for DH's mom. Thrifty eh? ;p
Here it is before the resin. For the road, I used the black decor sand, poured Elmer's glue and sprinkled it over so it looks like gravel. The water and beach I am not particularly happy with. I should have put more sand cuz you can see the blue paint under it in some spots. I used regular sand for that part with the glue. Same idea. A ship from the scrap-booking department. The dirt road was actually a "patch job". I couldn't get a piece of the grass carpet to fit the whole area so I tried to patch it together with a "seem" but it looked tacky so insert a dirt road. It was all I could think of last minute. I was running behind, working on it when Z was napping. I wanted it to be a surprise on Christmas morning, but he managed to sneak in there a few times and saw it lol.

And my FAVORITE part!!

... ps: getting a 2yr old and a 5mo old's handprints is not as easy as it looks lol. I had to do quite a few times of trying and wiping it off before I got a solid print. Thank God for Mod Podge! And in case you havn't figure out yet, the Z&A Railroad stands for Zander and Avalon. Duh. I loves it ;p
Lastly, I bought some of these wooden crates from Joann's for $5 each with coupons, painted them white, and decorated some letters for the front. His and hers toy storage. I still intend to get 2 more. I can fit 4 under there perfectly. New rule: if it doesn't fit under the train table, it goes in storage. I also have little wheels to attatch on the bottom so they roll easy but don't have the right size screws so that part is on hold too.

More Mod Podging. I seriously love this stuff.


The reveal...

He literally did not walk away from this table for two days straight. He wakes up in his sleep saying "choo choo train" and goes back to sleep lol. I am so not even kidding. He's the darn cutest kid in the planet! I love making him smile :)

Amber! That train table is AMAZING!!! Awesome work! I like the artificial grass and their initials look so cute. (I totally hear you about trying to get a good child's hand print! Nearly impossible!) This is fabulous. Thanks for sharing it with me.
ReplyDeleteCheri